


DVD to iPod Video: A (Relatively) Easy Guide
DVD
to iPod Video: An Easy Guide
Welcome to my first real
guide. It will show you how to take a DVD and make it ready to sync
to a brand new iPod Video! Note that for this guide I will be ripping
the Pixar short film Knick Knack from the “Finding Nemo” DVD –
Disk 2.
WARNINGS:
This WILL take a
long time. Probably overnight to do, depending on your system.
Some of the
software used in this guide may not be legal in all jurisdictions. I
have no problem with “backing up” DVD’s, as long as you OWN
the DVD.
DON’T PIRATE.
ONLY DO THIS FOR MOVIES YOU LEGALLY OWN. This guide is not
intended to aid piracy!
Materials:
The DVD you will rip
Latest version of DVD Shrink (other software may be
necessary. DVD Shrink doesn’t work with all DVDs).
Videora iPod Converter
Part
1: DVD to Computer
For this first step you will need to download DVD
Shrink. You can get that from FileHippo.com. They should have the
latest version. It is under the “CD and DVD Tools” section.
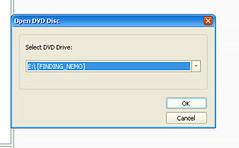
Install and open DVD Shrink. Then insert the disk you
want to rip. Close any program that might have opened to play the
DVD. Then click the “Open Disk” button. Select the drive the DVD
is in.
Next the program will analyze the entire DVD to
see how to decrypt it. This will hopefully take under 10 minutes.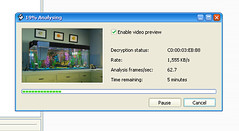
Next, click “Re-author” because we don’t need the
whole DVD’s contents (because the whole content includes menus and
stuff, which iPods don’t read).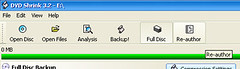
Now you need to find the part of the DVD that you want
to rip. Most likely you will want “Title 1” as that is most
often the main movie. To check, click the part you want to check,
then click the little play icon. If it is correct, then double-click
it.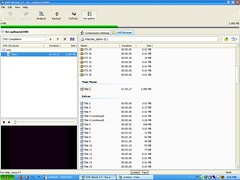
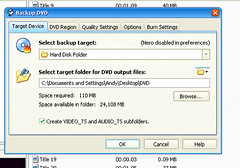
Now click “Backup!” Choose to save it to a hard
disk folder, and pick a folder. REMEMBER WHAT FOLDER you choose.
Then it will take a while, but less than the running time of the
movie.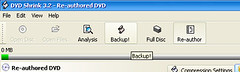
Now the DVD is on your computer!
Part
2: Computer to iPod-Readable format
Now you need to download the very nice free converter
program Videora iPod Converter. It is available from videora.com.
Then install it and open it.
Click on the Setup item and choose the Profile Picker
tab. Pick the profile that best fits your needs. For widescreen
movies pick “MPEG-4/Movies (Proper amount of time here)”. For
other items, just read the descriptions.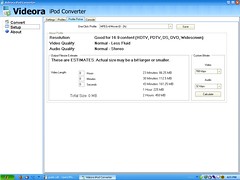
Then click “Convert” and choose “Transcode New
Video” and navigate to the folder where you saved the DVD. Choose
the “VIDEO_TS” folder and just choose the only file that shows
up.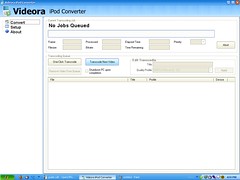
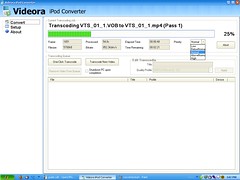
Make sure the profile is correct and click “Start”.
The process will take a while, and for me it never went past 0% the
first time I did it, so don’t worry. To make it go faster, do
nothing on your computer and choose priority “High.”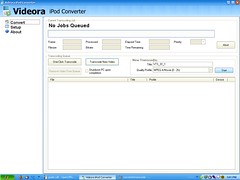
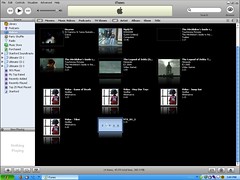
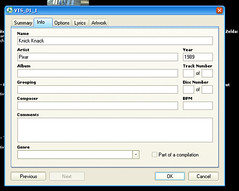
When it says done just search your computer for
“VTS_01_1.mp4”. Add that file to your iTunes library. Then right
click the file in the library, and add proper tagging, to make it
look nice in your iPod.
Next time you connect your iPod Video (while iTunes is
open), it will load to your iPod!
posted by Village Idiot @ 5:31 PM
![]()
![]()
1 Comments:
Borderline spam. Watch it. Don't follow the links in that previous comment if possible.
Post a Comment
<< Home